Best Birding Camera for Beginners: How to Get Started
Are you a beginner birdwatcher with a passion for capturing the beauty of birds in their natural habitat? Our tips on the best birding camera for beginners and how to get started with bird photography is your ticket to turning that passion into stunning visual art. Some people do birding with a camera instead of binoculars, and that is okay!
Birding photography is a perfect way to explore local wildlife as well as make lasting memories. By getting outside with your camera you can document what you see which can help with identification as well as making your time outside a fun experience.
This guide to cameras for beginner bird photography will help you navigate the world of cameras.Get ready to spread your wings as a bird photography enthusiast!
Disclaimer: This post may include affiliate links. If you click one of them, I may receive a small commission at no extra cost to you.
Don’t Have Time To Read The Whole Article? These are Our Camera Recommendations For Beginners:
Understanding Your Gear
For beginners, having the best bridge camera for bird photography means having a reliable DSLR or mirrorless camera paired with a telephoto lens (around 200mm to 600mm) as an excellent starting point. You don’t need top-tier equipment; it’s about understanding and maximizing what you have. It is very easy to get confused with all the options, but simple is best while you learn. Wildlife photography isn’t all about the equipment, learning fieldcraft and how your camera works is as important.
When it comes to lenses, consider what you want for your camera lens for bird photography. Finding the best superzoom camera for birding can be what you want. The best birding lens is probably a telephoto lens for capturing birds at a distance, but also think about a versatile zoom lens for more flexibility in various situations. The ideal lens would be somewhere around 100-400mm, but this all depends on the area that you will be using your camera. If you are working in a confined space with birds that are used to humans, then you may be able to use a 100mm lens or less.
Additionally, investing in a sturdy tripod can be beneficial for stabilizing your shots, especially in low light conditions. I find a tripod gets in the way when wildlife is all over the place, but if you have a static animal then a tripod is great.
Mastering Camera Settings
Adjusting camera settings might seem like a maze, but once you understand how the settings work it is possible to make your camera for bird photography do all the hard work. By mastering these tips, the best birding cameras for beginners should be easy to use!
Experiment with aperture, shutter speed, and ISO to achieve the right balance. These three factors work as a triangle. As you increase one, you need to decrease another.
Aperture controls the depth of field, affecting how much of the scene is in focus. By having a low f-stop (2.8, 4) you can get some beautiful images. With the wide-open aperture at a low f-stop the background becomes smooth. As the aperture size decreases and f-stop number increase, more of your image comes into focus.
Shutter speed freezes or captures motion, while ISO determines the camera’s sensitivity to light. Find the right combination for your specific situation, considering the bird’s behaviour and lighting conditions. If the bird is in flight, you will need a much faster shutter speed to capture the bird in sharp focus while it is moving. If you want to get a more artistic image, then slowing the shutter speed down will show the movement of the bird.
ISO usually looks after itself and when you start out it can be left on auto. You do need to make sure that it doesn’t go too high if there is low light as this can lead to your photograph being grainy.

Don’t forget to explore your camera’s autofocus settings. For bird photography, continuous autofocus (AI-Servo for Canon, AF-C for Nikon) is crucial for tracking moving subjects. Experiment with different focus modes to find the one that suits your shooting style.
Shooting in RAW format provides flexibility during post-processing, allowing you to bring out the best in your shots, but of you are not happy with using computer software to enhance the photographs you are best sticking to JPEG’s.
Techniques while in the Field
Patience and Observation are Your Allies in the World of Bird Photography. Birds have their schedules, and understanding their behaviour is crucial. Blend into the environment with camouflage gear, move quietly, and let the magic happen. Remember, becoming part of their world is the key to capturing those candid moments.
Become Part Of Your Environment by blending into your surroundings, by spending your time just standing still, and waiting. After a while the wildlife will accept you into their home and will be less bothered. It is also worth considering using a hide. This can be anything from a pop-up tent to a professional, fixed building. You can be dry and comfortable and know that your presence will not disturb the birds.
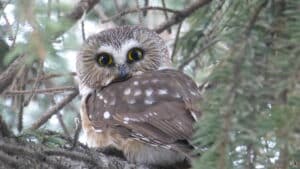
Consider the time of day for your photo shoot. The golden hours during sunrise and sunset provide warm, soft lighting that can enhance the beauty of your bird subjects. It’s also when many birds are most active. This is especially the case for crepuscular birds like owls who will hunt in the fading light. It is often better to go to a busier location in the morning for sunrise as less people visit.
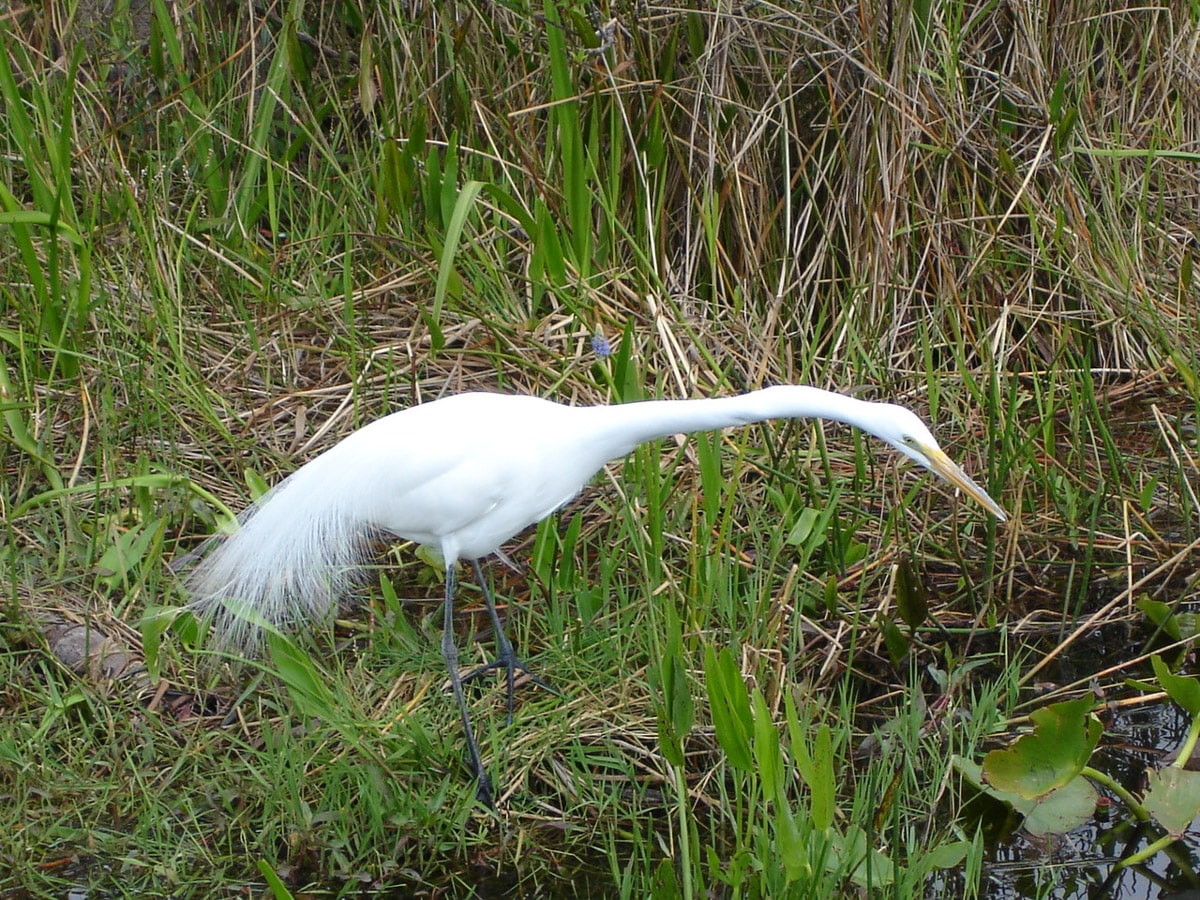
Using Natural Elements for composition can change your photographs. Branches, leaves, and water bodies can add depth and interest to your photographs. These can be used to frame your subject or show them in their habitat. As well as portraits it is often nice to show the bird in the landscape.
Experiment with different shooting modes, such as burst mode, to capture a series of images in rapid succession. This increases your chances of capturing the perfect moment, especially during dynamic bird behaviours like take-offs or landings. Always remember to take shots in landscape and portrait orientation so you have a good variety of images to choose from.

Composition Tips for Bird Photography
Composing a captivating bird photograph involves understanding the basics of framing. The rule of thirds is one of the first principles to master. Imagine the frame divided into 9 squares. Place your bird or parts of their anatomy on the lines and crosses. Having the eye on one of the crosses will place the bird perfectly in the frame.
Keep an eye on the background; a clutter-free backdrop lets the bird be shown to its best. It may be that a flower or blade of grass doesn’t get seen while you are framing the shot, but once you view it later, the flower may be a big white blob in the wrong place, or a blade of grass may cut across the front of the bird.
Experiment with different angles and perspectives. Get down to the bird’s eye level to create a more intimate connection with your subject and try to capture the details of their plumage, eyes, and unique features. Take time with each bird and really focus on every part of it.
Think about the bird’s behaviour. Is it feeding young, putting on a mating display or hunting. All these moments can make for a stunning photograph. Nature can be brutal at times, but always make sure you share the reality. Birds need to hunt and feed, and it isn’t always pretty.
Consider negative space in your composition. Sometimes, less is more. Allowing space around your subject can create a sense of freedom and emphasize the bird’s natural environment. This is often difficult with birds as you sometimes must capture what you can in the moment, but if you have the chance, think about where they are and their position in the frame. Using a wide aperture can help with enhancing negative space by blurring everything else out.
Include leading lines in your composition. This could be a branch, a wall, a shoreline, or even the trajectory of the bird’s flight. Leading lines draw the viewer’s eye and add a dynamic element to your photograph.

Additional Tips and Techniques
Mastering Manual Mode
As you progress in your bird photography journey, consider embracing the full control offered by manual mode. This mode provides a nuanced approach to exposure, allowing you to fine-tune settings like aperture, shutter speed, and ISO based on your creative vision.
While it may seem intimidating initially, mastering manual mode grants you the opportunity to make each shot your own. Experiment with different combinations, understanding how adjustments influence the final image.
With practice, you’ll develop an intuitive feel for your camera’s capabilities, capturing moments with a personalised touch that automatic modes might miss.
Bird Identification
Bird identification apps serve as encyclopedias in your pocket, offering real-time information on the species you encounter. By familiarizing yourself with the habits and characteristics of various birds, you enhance your ability to anticipate their movements. This proactive approach transforms your photography sessions into well-informed and strategic endeavours.
Whether you’re spotting a raptor in flight or a songbird perched on a branch, knowing your subject on a deeper level allows you to anticipate what they are going to do.
I recommend using Audubon or Merlin to help learning about birds.
Post-Processing
Learning basic techniques in programs like Adobe Lightroom or Photoshop becomes your toolkit for refining and enhancing your photographs. This is essential if you shoot in RAW. JPEG images have the adjustments done in the camera by the camera software, but RAW means you have to do the adjustments yourself.
Adjusting contrast, saturation, and sharpness allows you to emphasise the vivid colours of plumage or the subtle details in feathers.
Post-processing is not about altering reality but about translating the emotional impact of the scene you witnessed. It’s the bridge between the raw image and your artistic interpretation.
This does take practice and it is often worth returning to images after a period of time and re-editing them. I also prefer to leave my images for a week or two before editing them. This means the emotion of the encounter is subsiding making editing much easier.
Recommendations: Best Birding Camera for Beginners
Here are some options for cameras for beginner bird photography:

Remember that practice and patience are your allies in this endeavor, and as you continue to hone your skills, you’ll not only capture stunning avian moments but also deepen your connection with the natural world.
Embarking on your journey into the captivating world of beginner bird photography can be an incredibly rewarding experience. Armed with the knowledge gained from these tips on the best birding camera for beginners, you are now better equipped to select the right gear and techniques to capture the beauty of our feathered friends.
So, grab your birding camera, head outdoors, and let your passion for beginner bird photography take flight! Happy shooting!